Rehabilitation with ventilated façades: The definitive guide for safe and efficient planning
Comprehensive building rehabilitation using a ventilated façade system is one of the most effective solutions for improving energy efficiency, modernizing esthetics and ensuring envelope protection. However, far from being a simple façade renovation, it is a technical and rigorous process involving multiple stakeholders: specifiers, developers, manufacturers and installers. To ensure the success of the project, the process must be divided into 6 key phases from the initial diagnosis to the final delivery of warranties. The FAVEKER® method for agile, safe and efficient planning is explained here.
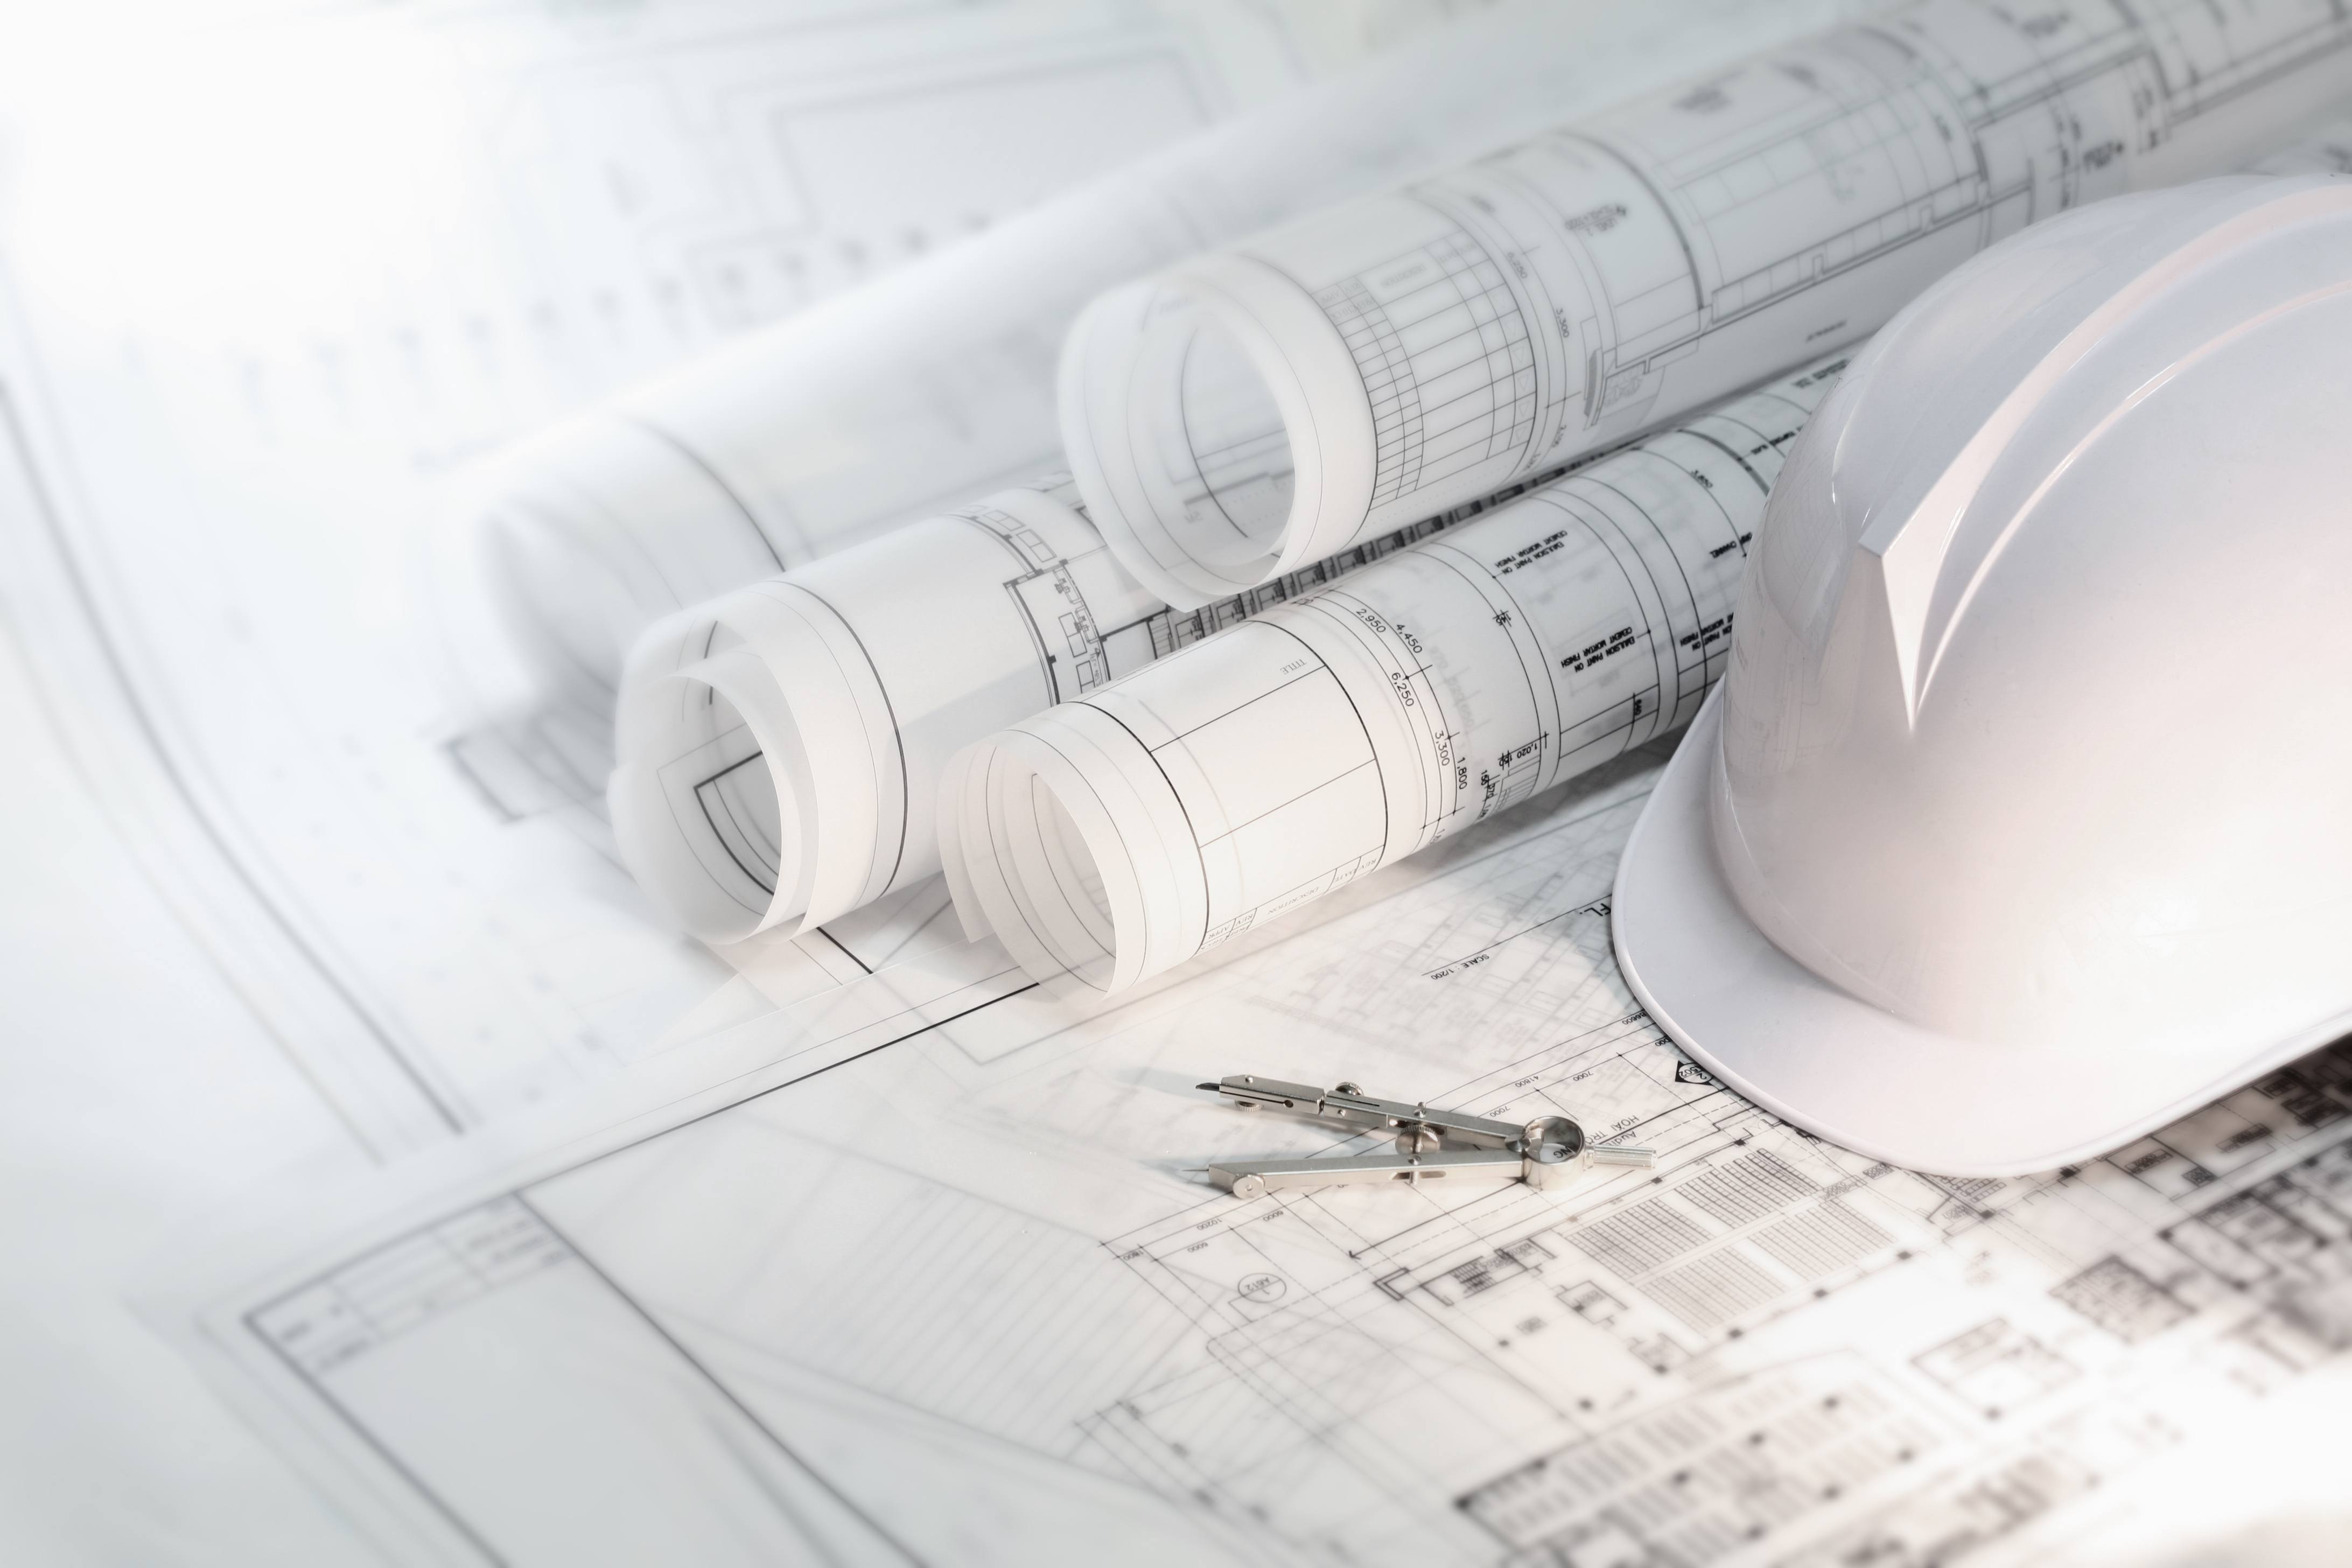
1. The Specifications: The technical diagnosis that initiates the rehabilitation process
Every rehabilitation project begins with the specifications. This phase is led by the technical specifier (architect or engineer), who conducts a thorough diagnosis of the building’s current condition to decide whether a ventilated façade is the optimal technical solution.
This is a crucial moment when it comes to defining the goals for the building rehabilitation—energy savings, esthetic modernization, pathology resolution—and choosing a certified system that complies with the Spanish Building Code (CTE).
This is where the FAVEKER® Method begins. Our technical team steps in, advising the specifier on which ceramic system best suits the project needs, ensuring CTE compliance and proper integration within the urban environment.
We reinforce this guidance with an updated energy calculation. This allows us to report the potential energy improvement and quantify the building’s real performance enhancement. Moreover, if the project requires a unique look, we propose customized solutions from our custom range.
2. The preliminary design: The initial proposal for decision-making
The preliminary design is the document that outlines the diagnosed solutions for the developer. It’s essential and invaluable as it enables informed decision-making and helps assess the scope of the intervention before investing in the execution project. The preliminary rehabilitation design includes:
- A study of the current façade condition
- A preliminary proposal of materials: type of insulation, substructure and ceramic cladding
- Initial cost estimates
- Sketches or schematic plans
At FAVEKER® we provide direct support to the architect when selecting ceramic materials, defining formats, colors and fastening systems. We facilitate samples and catalogs and advise on the technical and economic feasibility of the proposal, ensuring a solid, realistic and esthetically coherent preliminary design.
Not sure if your building is suitable for rehabilitation? Check out our guide on the feasibility of ventilated façade rehabilitation.
3. The basic project: Defining the essential characteristics of the system
Once the developer approves the preliminary design, the technical team drafts the basic project. This document is fundamental as it defines the essential characteristics and scope of the chosen façade rehabilitation system. It serves as the basis for permit applications and includes:
- A descriptive report
- Detailed plans of the façade solution
- Proof of regulatory and urban planning compliance
- A health and safety study
To support this phase, FAVEKER® works closely with the architectural rehabilitation team, providing all the technical documentation necessary with regard to our systems: data sheets, tests and certificates that help the architect justify regulatory requirements and system performance.
Our technical support is key to allowing the architect to prove compliance and the high performance of the selected FAVEKER® system, ensuring a robust and flawless project.
4. The execution project: The construction guide for the rehabilitation
This is a key phase where the definitive “construction guide” is detailed. The execution project is the document used to contract the construction company and monitor the correct development of the façade rehabilitation.
It precisely defines the entire intervention, providing:
- Construction plans with breakdowns, modulation and anchoring details
- Assembly specifications for the substructure, insulation and cladding
- Measurements and an itemized budget
This is where our Technical Office delivers its full value to ensure safe planning. As part of our commitment to comprehensive support:
- We provide the construction details for assembling both the substructure and ceramic cladding, as well as the installation manual.
- We offer technical assistance to ensure the system is properly described in both the report and technical specifications.
- We adapt solutions for special cases within the architectural project, such as corners, openings and parapets.
Finally, as a pillar of safe execution, we provide training and certification for installers, ensuring installation is carried out in accordance with the highest quality standards.
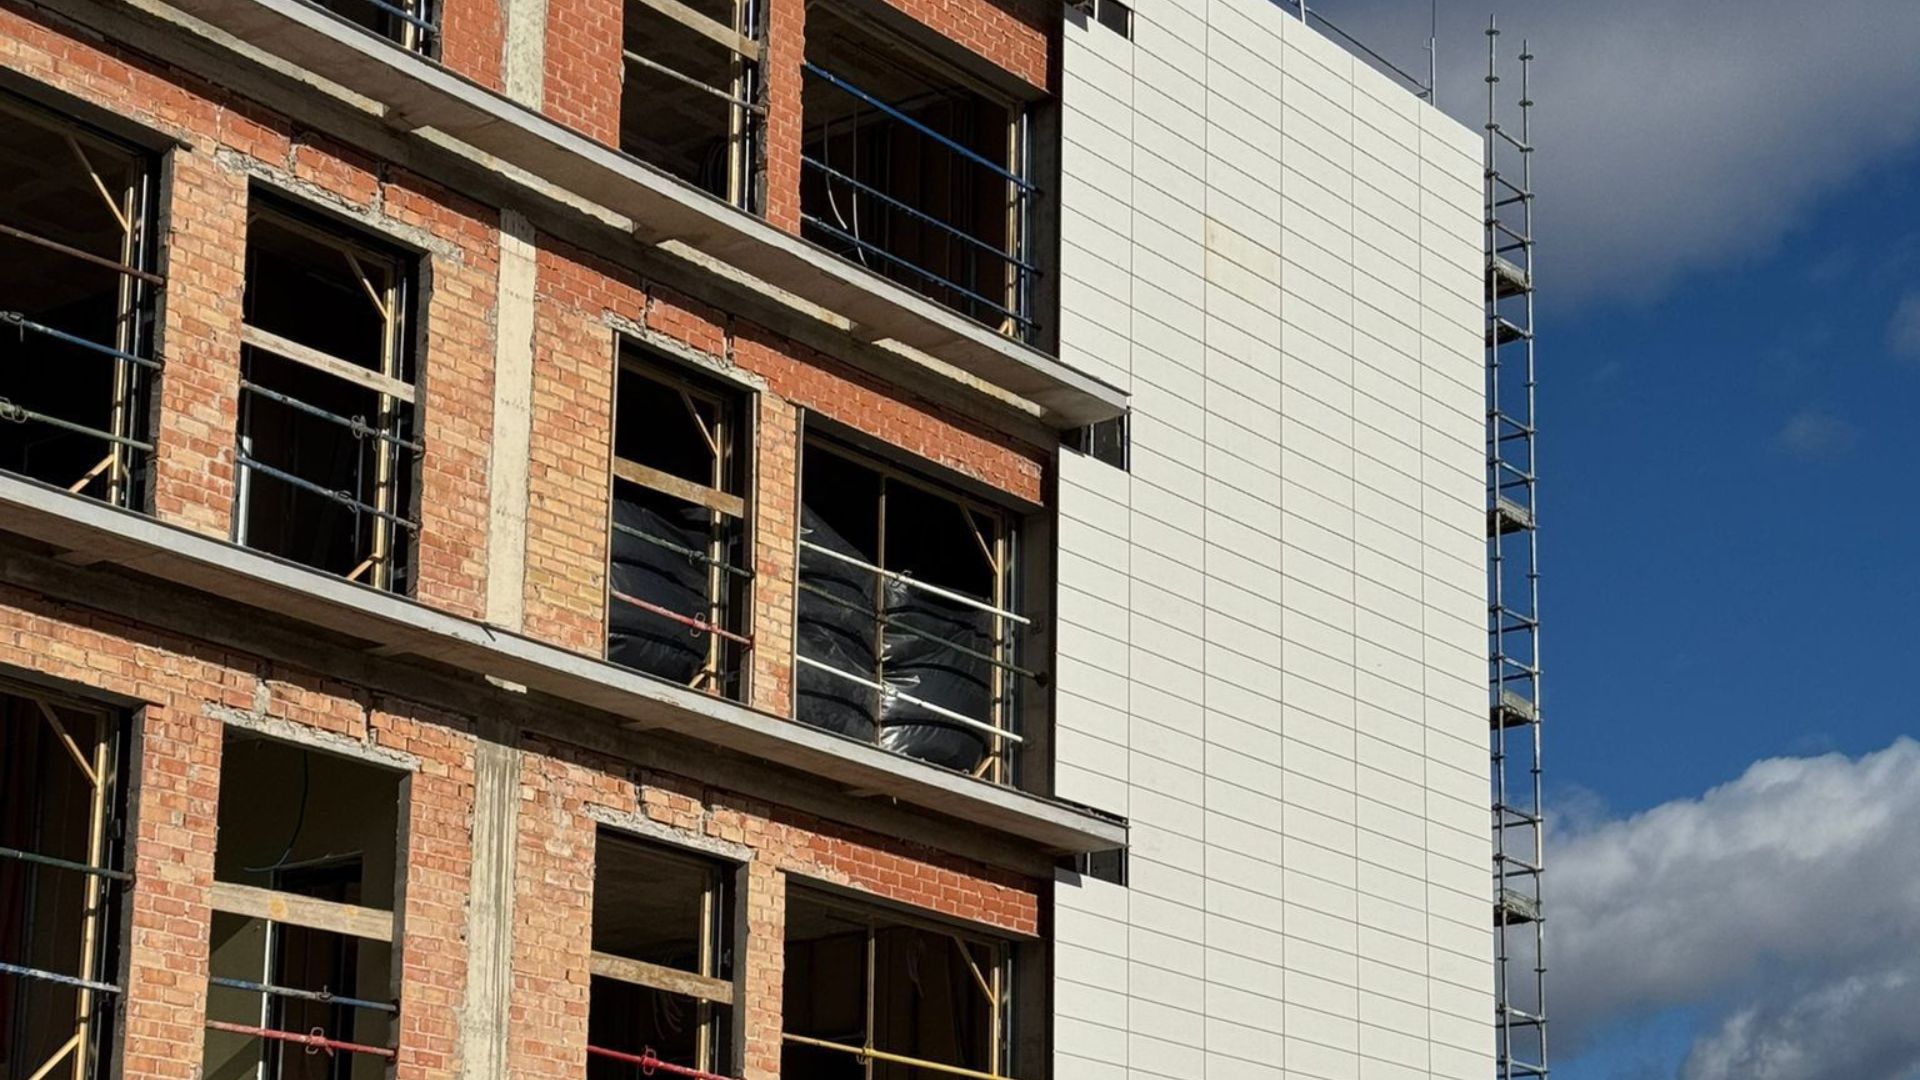
5. The construction phase: The visible transformation

It’s now time for the moment of truth: the installation. This is where all previous planning materializes into agile and efficient rehabilitation. This phase follows a strict methodological order to ensure the highest quality and safety:
- Preparations: scaffolding assembly, protections and inspection in addition to repairing the supporting structure (the original façade)
- Installation of the substructure: alignment and certified anchors
- Installation of insulation: mechanical fastening and the arrangement of fire sectorization barriers
- Assembly of the exterior cladding: according to the planned modulation and with expansion joints
- Finishes: the installation of window trims and parapet systems
- Quality control: wind resistance tests, inspection of fixings and joints
To ensure true safety, this phase must be carried out exclusively by qualified and certified installers. They guarantee correct installation, allow the manufacturer’s warranties to be activated, and ensure regulatory compliance and total protection against detachment.
In this decisive stage, FAVEKER®’s role focuses on supplying certified ceramic ventilated façade systems and providing on-site technical support, resolving questions from both installers and site management. Check out 5 rehabilitation projects that have completely transformed buildings following this process.
6. Finalization and legalization: The closing project documentation
Once the work is completed, site management signs the Final Work Certificate, and it is time to hand over the following documentation to the developer:
- The maintenance manual
- Material and full system warranties
- Certificates declaring the work was done by qualified installers
- Certificates for all supplied materials/systems
After this, official building documentation can be updated through public agencies such as the cadastre or property registry. To complement all the above and close the quality cycle, FAVEKER® can provide system conformity certificates, product warranties and the maintenance manual for the ceramic cladding. It is the final guarantee for an efficient, controlled and safe end-to-end process.
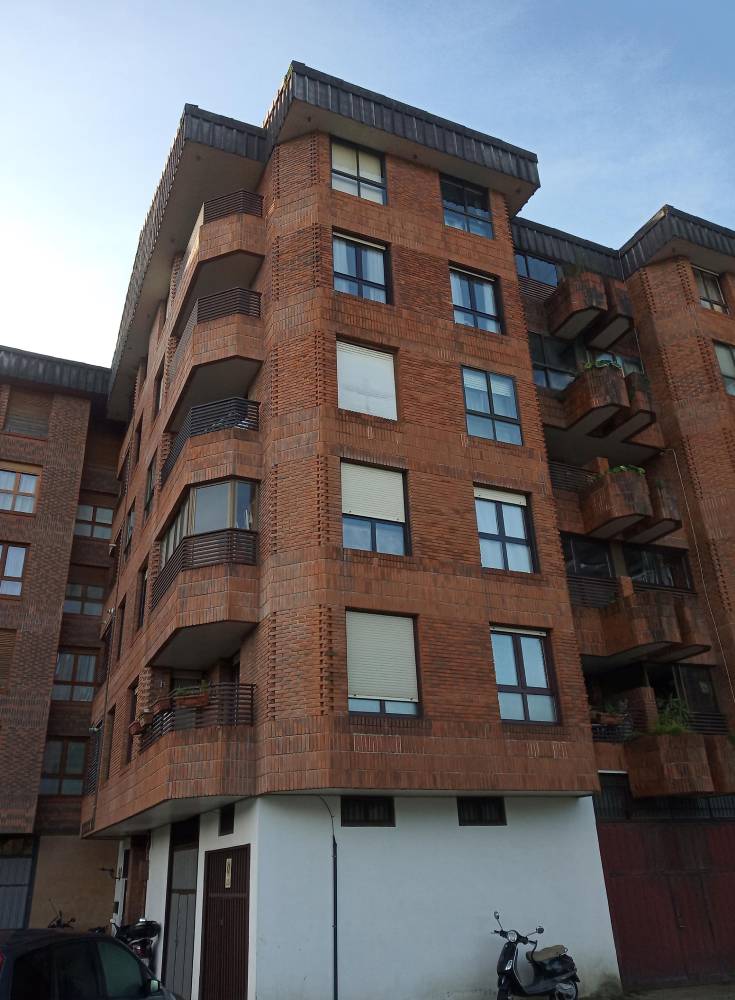
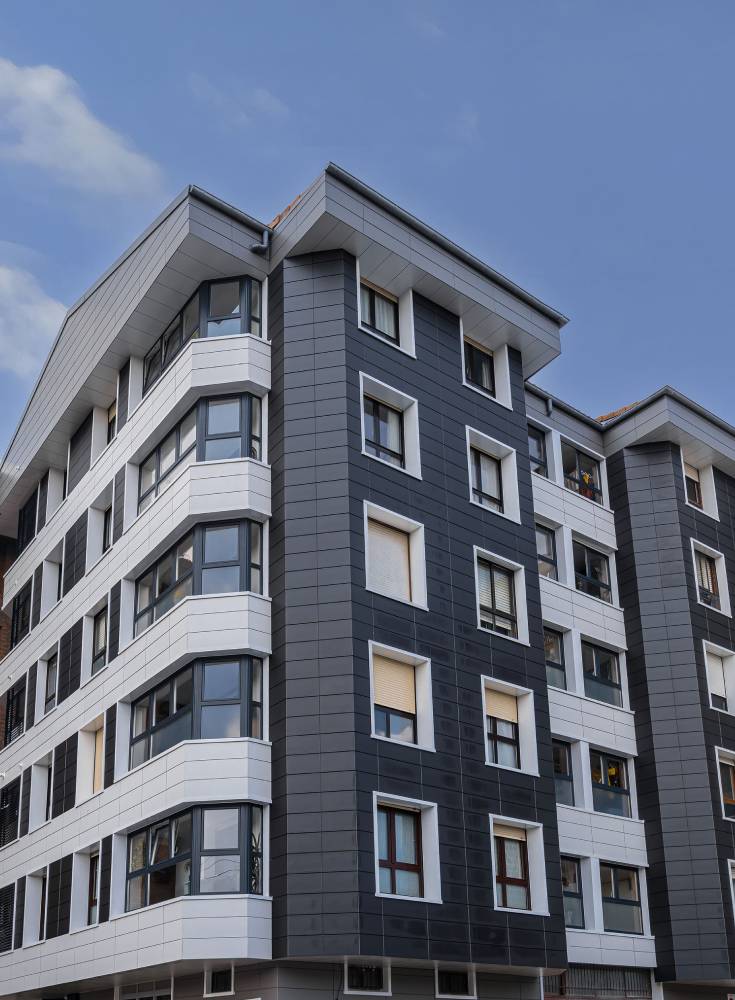
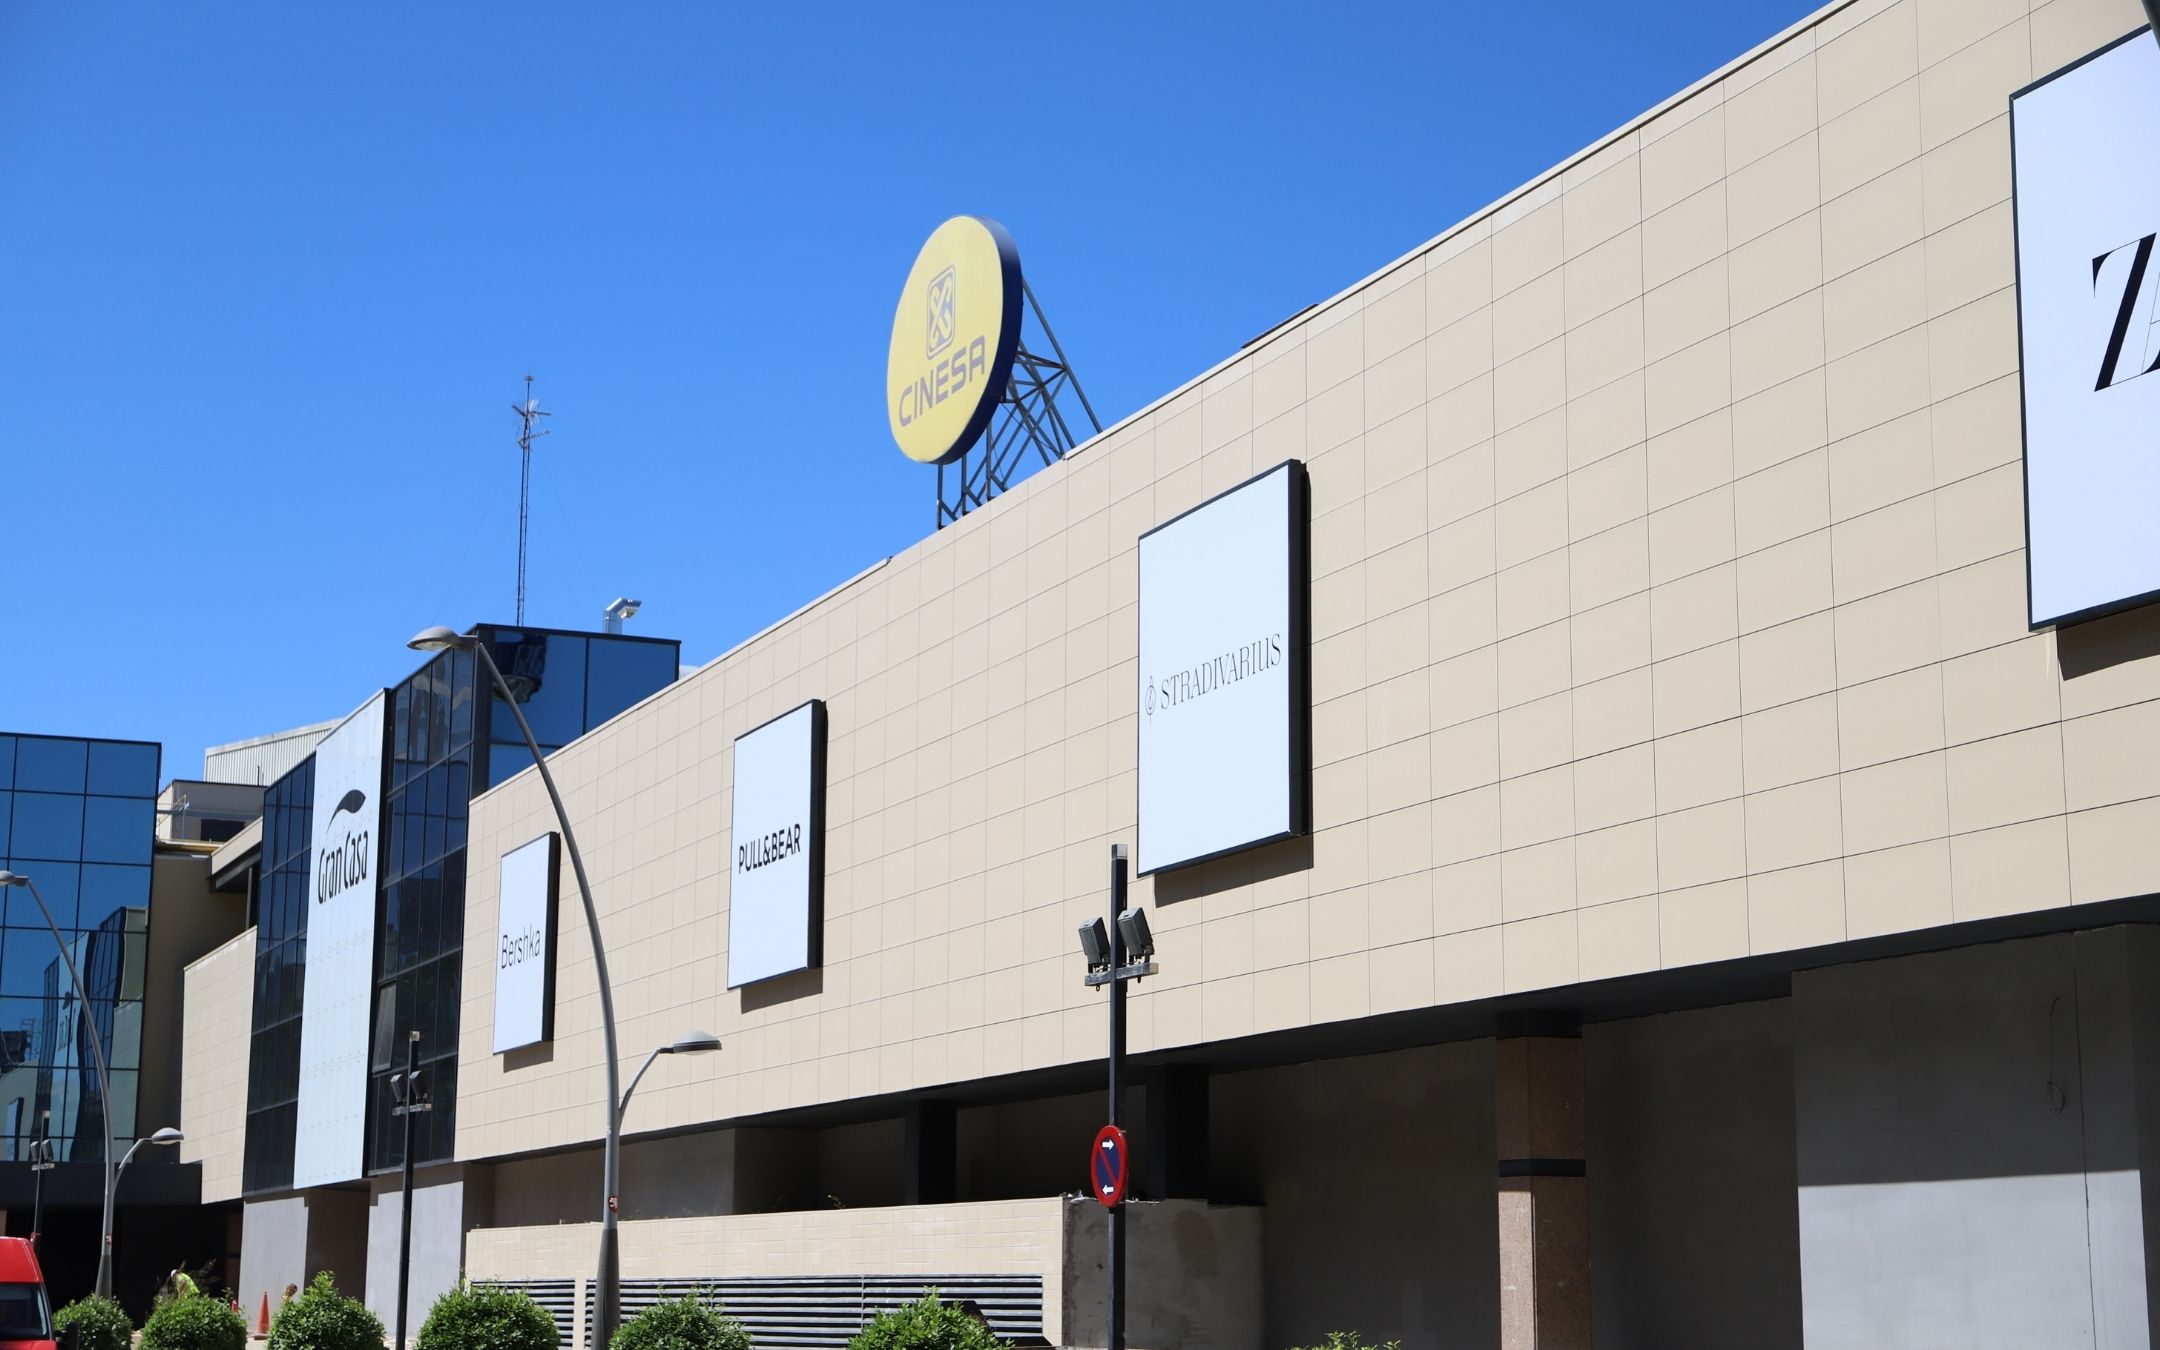
A photographic before-and-after comparison of a rehabilitation project
The FAVEKER® method for agile and safe planning
Comprehensive building rehabilitation with ventilated façade systems is a technical and collaborative process that transforms an envelope for decades. At FAVEKER®, we emphasize how proper planning and expert construction processes—guided by our role as manufacturers—ensure agile, safe and efficient rehabilitation. This is our method: technical and documentary support throughout the 6 key phases from the initial diagnosis with the specifier to the delivery of warranties. Following this structured protocol ensures minimal unforeseen events and maximizes final quality.
If you need specific guidance for your project, contact our technical team.
We also invite you to download the Specifier’s Guide, an essential document covering all the basic concepts behind a FAVEKER® ventilated façade.